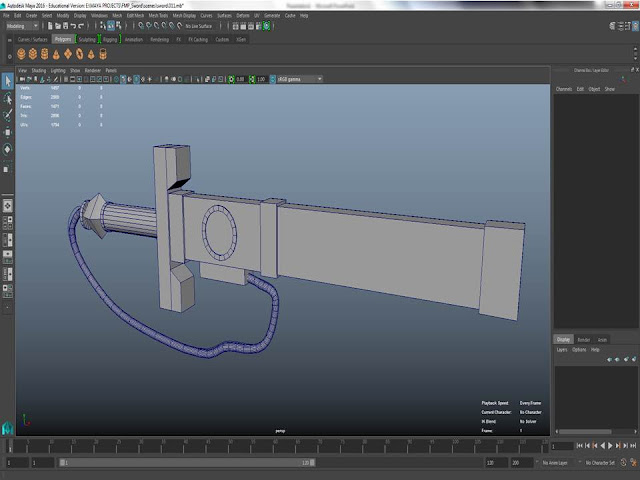
I then added the circler rims to the sword that would encase the vines that I will texture in later down the progress and then added the box that goes underneath the sheath that will hold the cable that charges the sword.
I then started building the handle to the sword after completing the sheath it was quite simple to model all I really needed to do was do a bit with the vertex faces to complete the cross-guard of the handle.
This is me modelling the grip and starting the pommel was quite simple modelled a quick cylinder and then another cylinder but squashed to start the pommel of the blade.
This is just a completed pommel I removed the image after this since there was not much need in having it since most of the very accurate modelling has being done and there are not many more things I need to do to it.
Now I had to do the cable for the sword the way I did this was learn about ep curve tool where in which you create a line and through a couple other steps you can duplicate an object as many times as you want in which is what I did with a sphere to create the cable of the sword.
This is the model after completing the cable I knew I was going to edit the cable because it didn't feel right when I did curve tool like it was a little bit jaggy in some areas. I will clear them up when finishing off ever little detail.
This is the model complete I added quick little features that where not there before like adding the the small cable that connects the the cable from the sheath into its slot and cleared up the cable to best I could without completely ruining it. it is now ready for texturing and colour which will be the main task now my model is done.


No comments:
Post a Comment